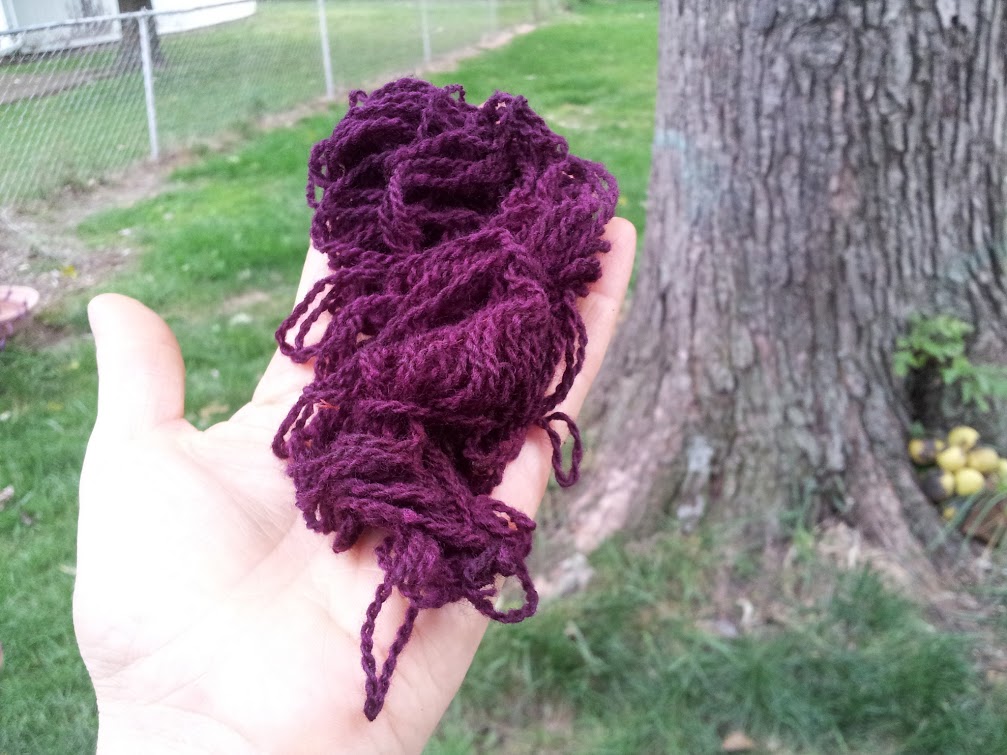
This last weekend, I had the pleasure of attending a Fiber Retreat with a dear friend of mine, E. You might remember E from our pokeberry dye fun. We had a blast. Mad skillz, friendly people, and more homegrown fiber than you could shake a weaving stick at. I think that was my favorite part of the whole weekend—meeting all of the local fiber farmers who set up in the market. I believe in supporting local, sustainable, and small farmers, crafts-people, and artisans, and I love attending venues that focus on local rather than commercial goods. Besides, small batch homegrown wool has so much character and life—once you’ve worked with it, you don’t want anything else. The market was packed with luscious wool, alpaca, llama, and mohair. It was also really cool to meet so many highly talented fiber artists from my state—many of whom live in small towns and out of the way places where the unsuspecting might be surprised to find such artistic genius.
I took three classes at the fiber retreat: weaving sticks, continuous strand weaving, and wet felting. Three things I have never done before. The classes were lively, the teachers were wonderful. So let’s go on a little photo journey of newly acquired craft knowledge:
Weaving Sticks
The history of stick weaving is not well defined online. Some claim it was used by Native Americans, others that it was brought to Europe by the Crusaders, and yet others claim that it was actually developed as recently as the 1940’s. However, I’ve seen no actual proof in any of these assertions—no references or photos of any kind, and it seems that the same information about the history of stick weaving is simply being passed around from site to site. My thought, however, is that we know weaving has been around for many thousands of years, and this method is so simple that surely somebody somewhere used it. In conclusion, I have no idea what the real history of stick weaving is. If any of you weavers out there do, I’d love to know!
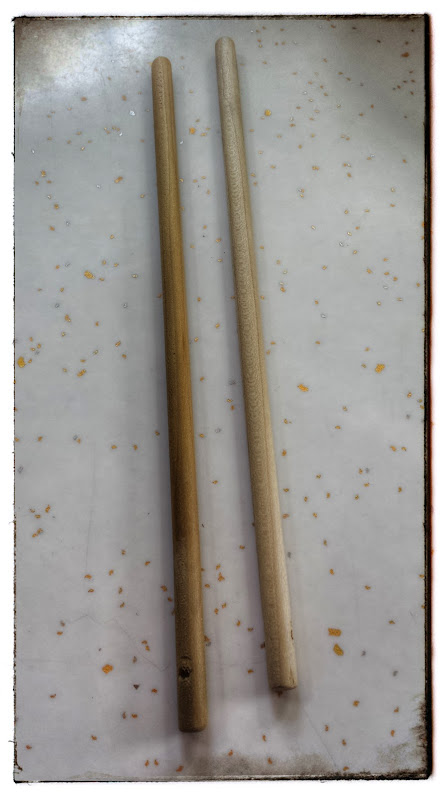
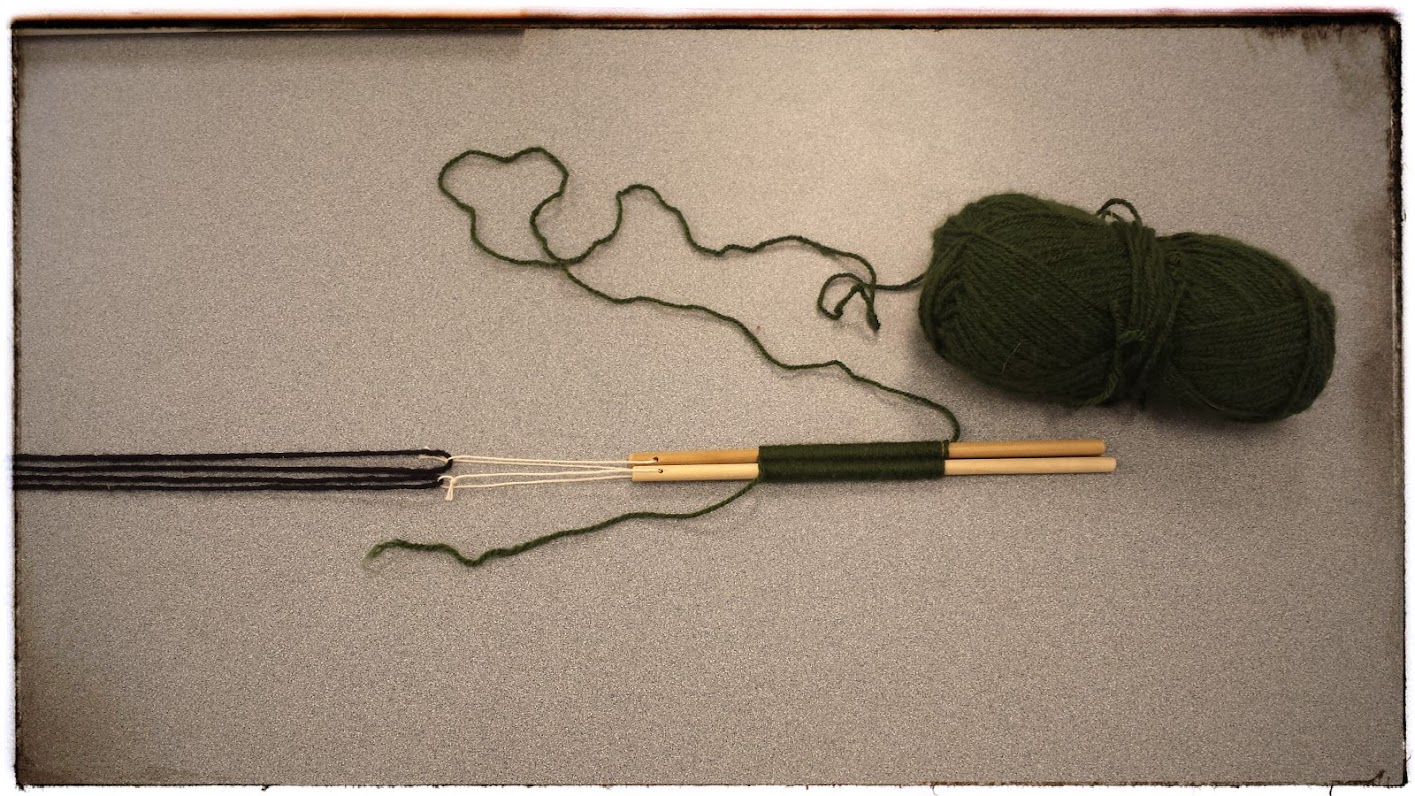
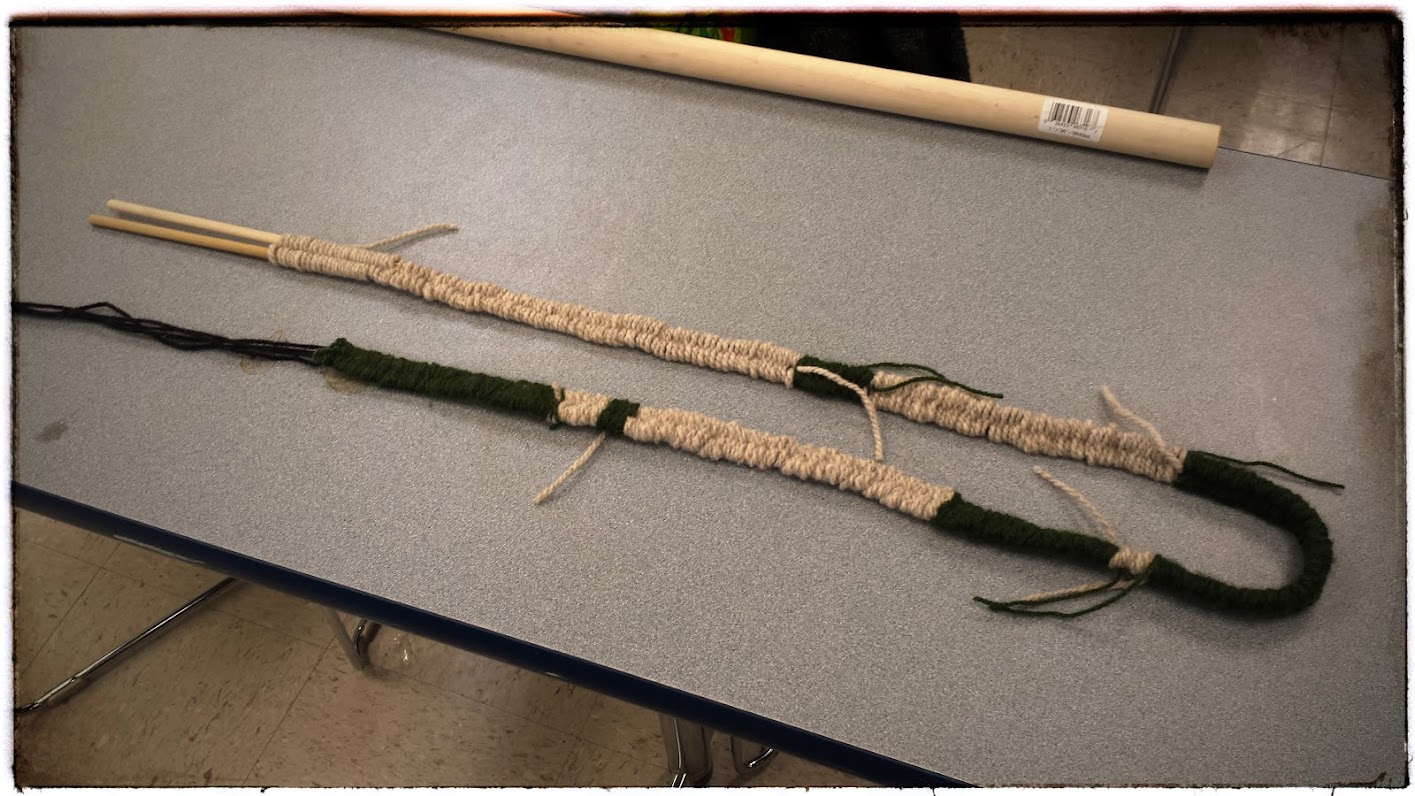
Stick weaving is a very simple form of weaving. It is essentially the same process as weaving on a peg loom, only instead of the pegs being fixed, you hold them. This can be done with as few as two sticks or as many as you can hold. Each stick has an eye, and like a needle, is threaded with what will become the warp. Our warp yarn was too thick to go through the stick holes, so an extra string was threaded through those to create a bigger loop that hung down below the stick. You can this this in the photo below.
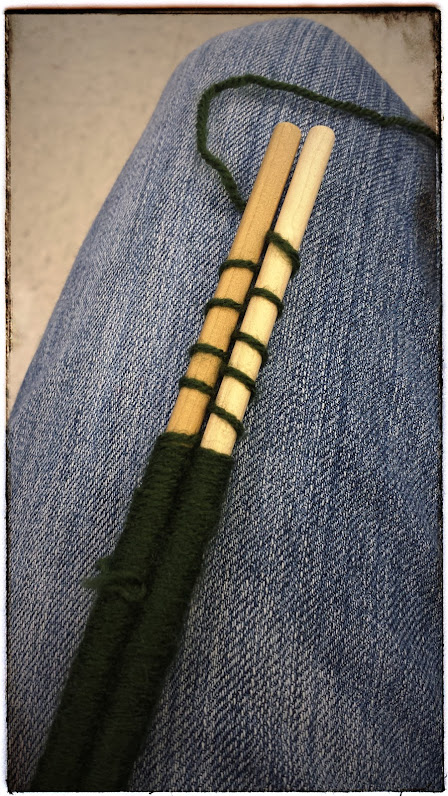
The the working yarn is woven in a figure eight (for two sticks) or a serpentine (for more than two sticks) fashion around the sticks. This is the fun part. It is very soothing. Mindless and rhythmic. As the weaving is done, it is pushed down on the stick to keep a nice even tension.
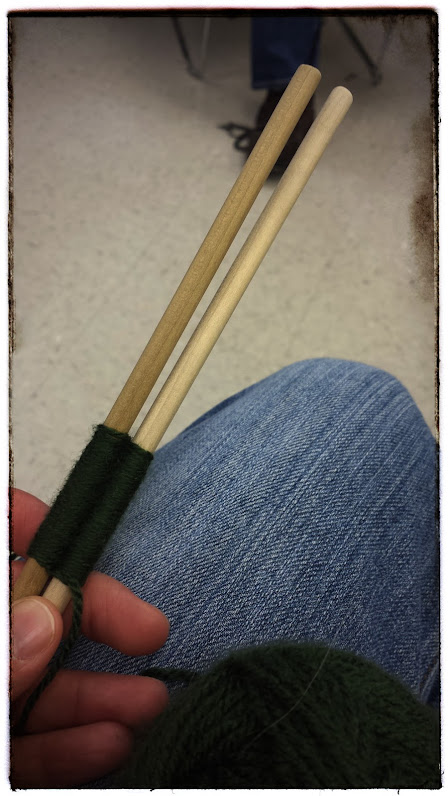
When enough woven yarn is on the sticks, it is pushed down onto the warp yarn. This process can be more difficult than it sounds. It took a lot of wiggling. Smoother, polished sticks would be the way to go. This is done over and over until you have the length you want for your project. Of course, shorter sections can be joined together in a project, as well.
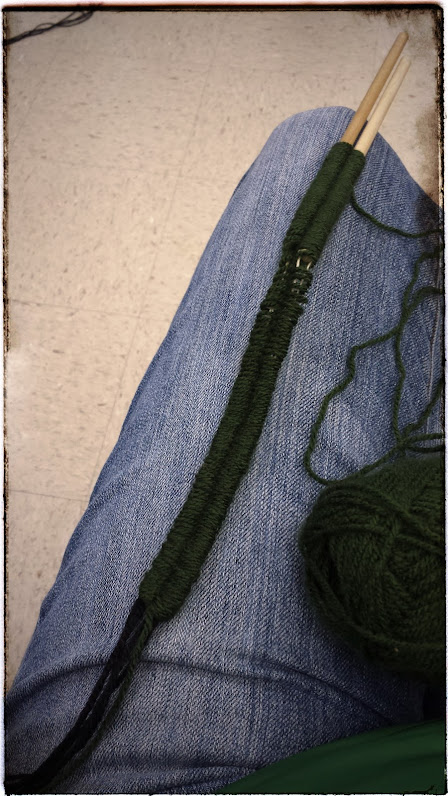
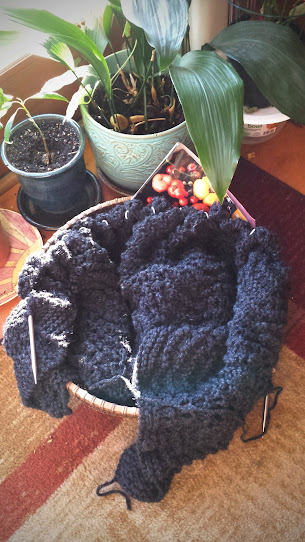
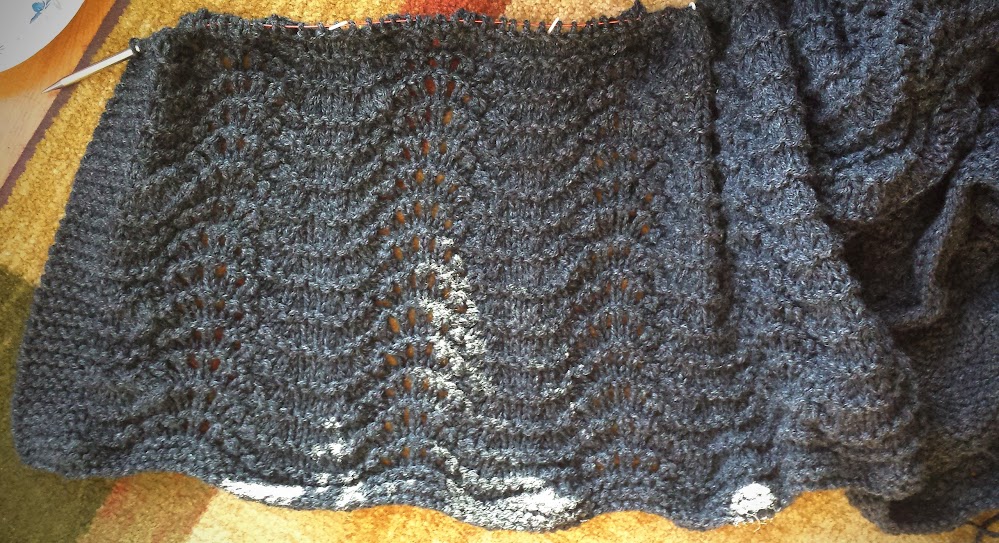
Here you can see the long strand in progress, including the colour changes and unwoven ends.
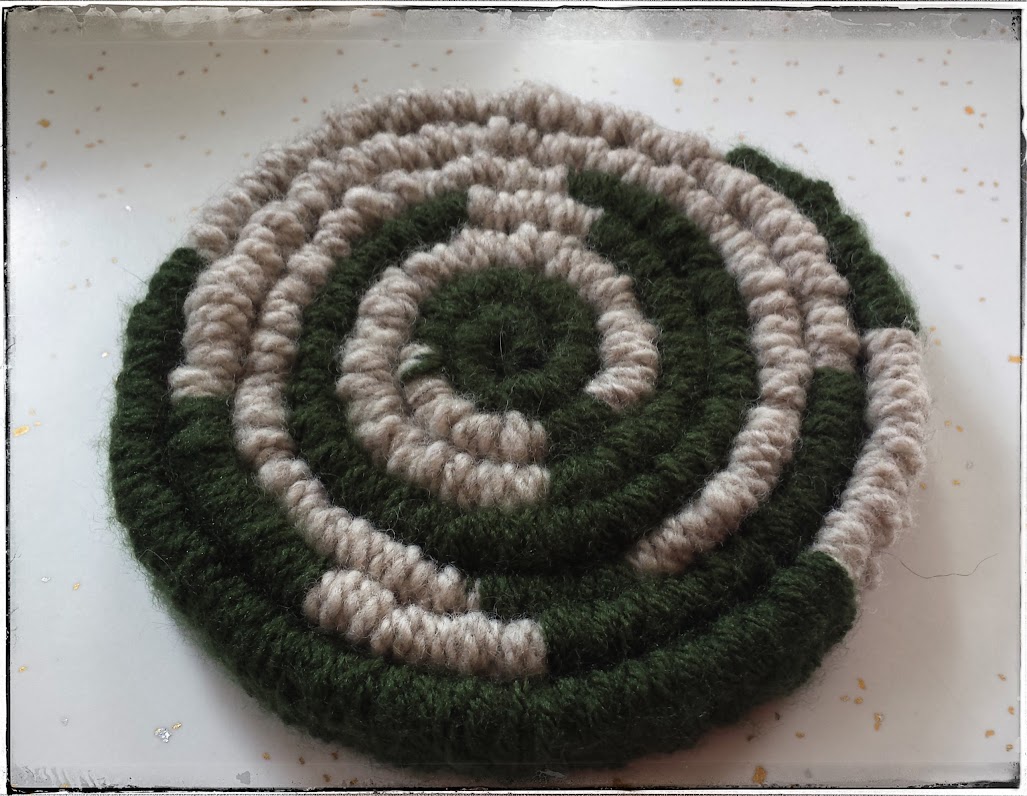
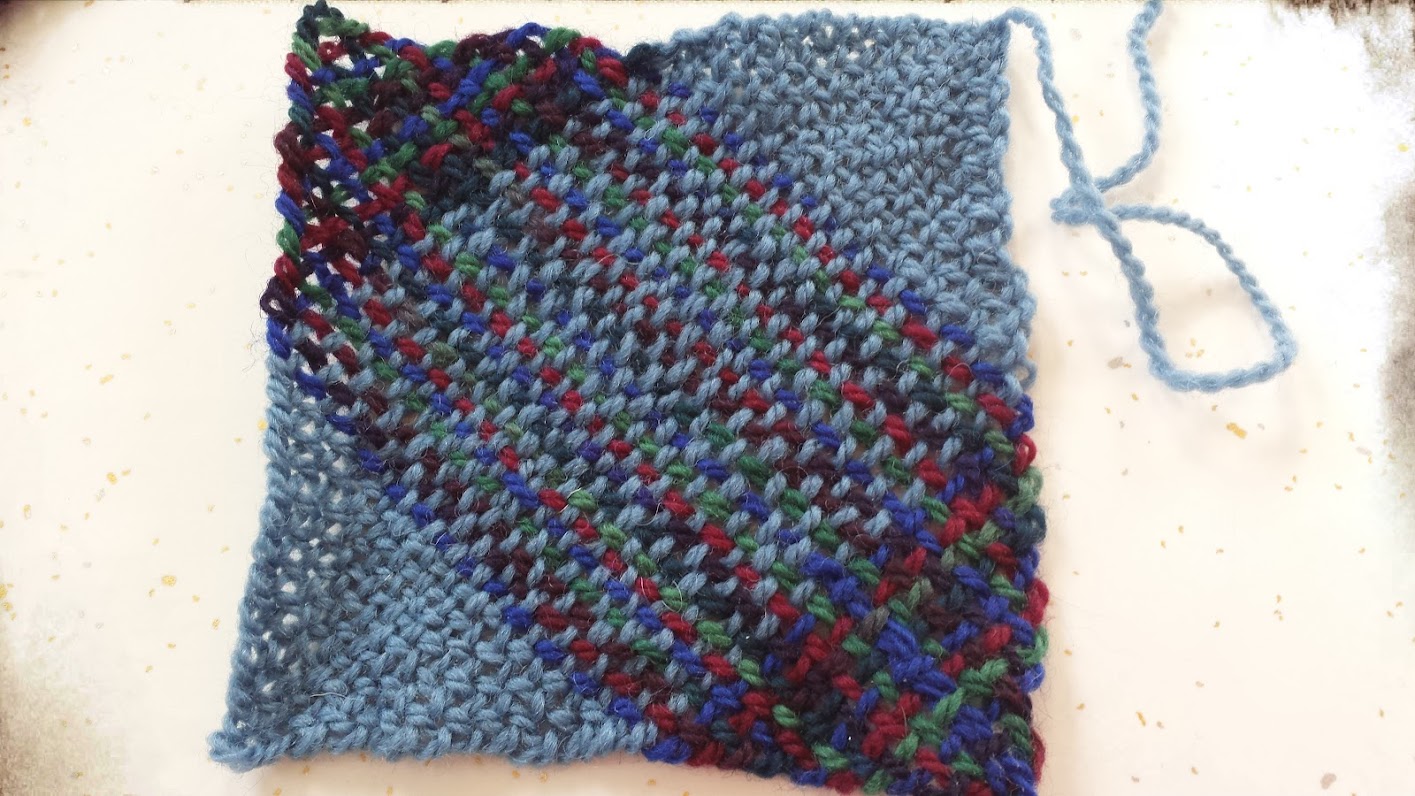
This is what my finished mug rug will look like if and when I get around to whip-stitching it together. Our teacher recommended doing the whip-stitching on both sides of the piece so that it maintains its shape without splaying out. It is fairly fugly, but it represents new skills and a lot of fun, so I am happy. I can see how with a little measuring, the colour changes could be coordinated in cool ways. Because the strip is stitched together coiled along its flat edge, the finished piece is as thick as the width of the strip. This makes for very thick, cushy rugs or cushions. I’d also like to try stitching the strips together lengthwise to make a flatter rug. This could be easily done with wider strips woven on 4 or 5 sticks.
Continuous Strand Weaving
My only experience with weaving is with basket weaving using bark and plant fibers. I’ve never woven on a loom, not even to make a potholder as a child. I am fascinated with woven fabric. It is beautiful. Now that Ravelry has added weaving to the mix, I find myself looking at a shawl or scarf wondering what gorgeous stitch pattern was used to create that texture—and discovering it was woven. Happens all the time.
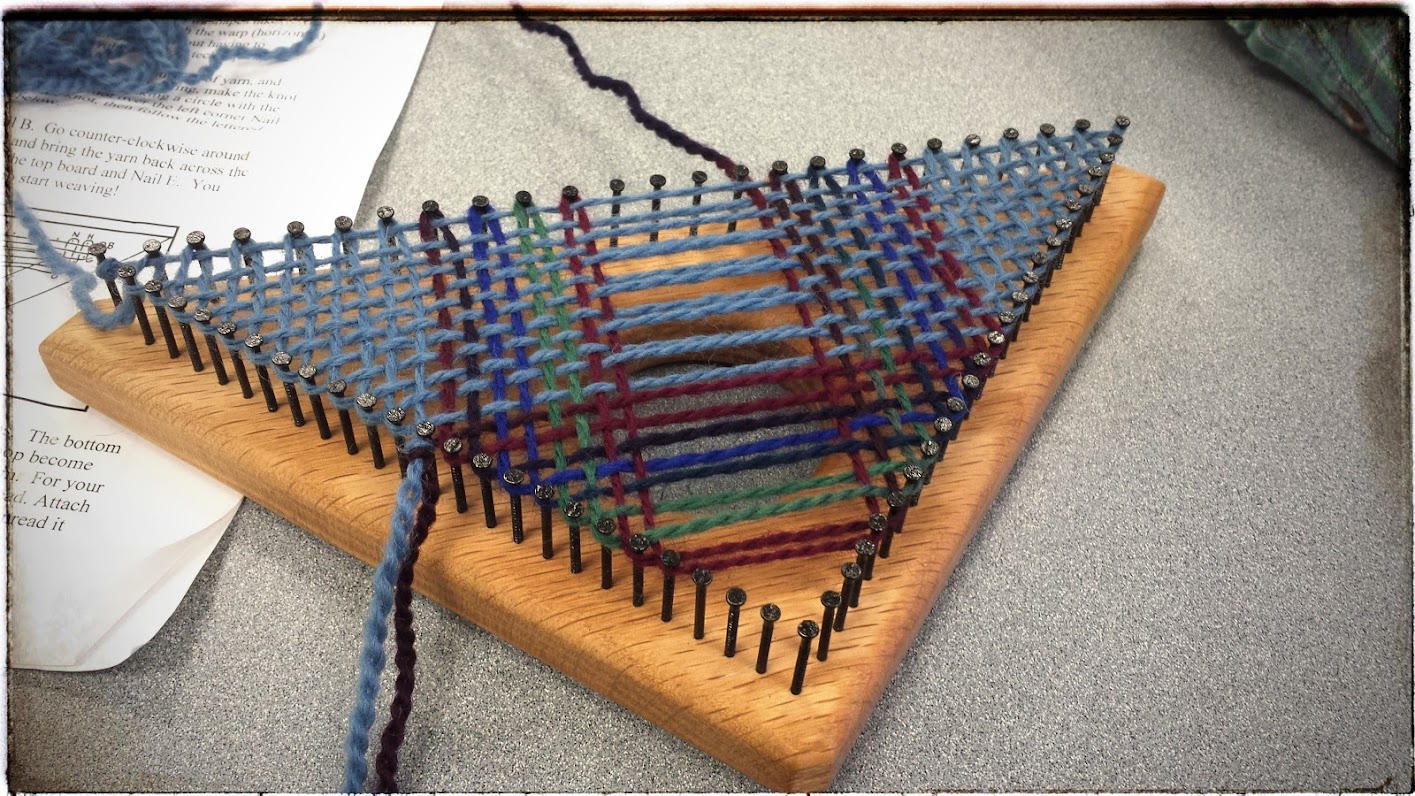
Continuous strand weaving is interesting in that rather than pre-warping the loom, it warps and weaves the loom as you go. It is also interesting in that the weaving process occurs symmetrically from two opposite sides as you go. I know next to nothing about weaving, and so cannot articulate this in any way other than to say it is magical. There are many tutorials and videos online if you search “continuous strand weaving” or “triangle weaving”. It can be done on rectangle and square looms, also. Our class did a travel size triangle and then a travel size square. Below you can see the triangle loom weaving in progress, with the weaving happening on both sides and working in toward the center.
And then before I took it off the loom.

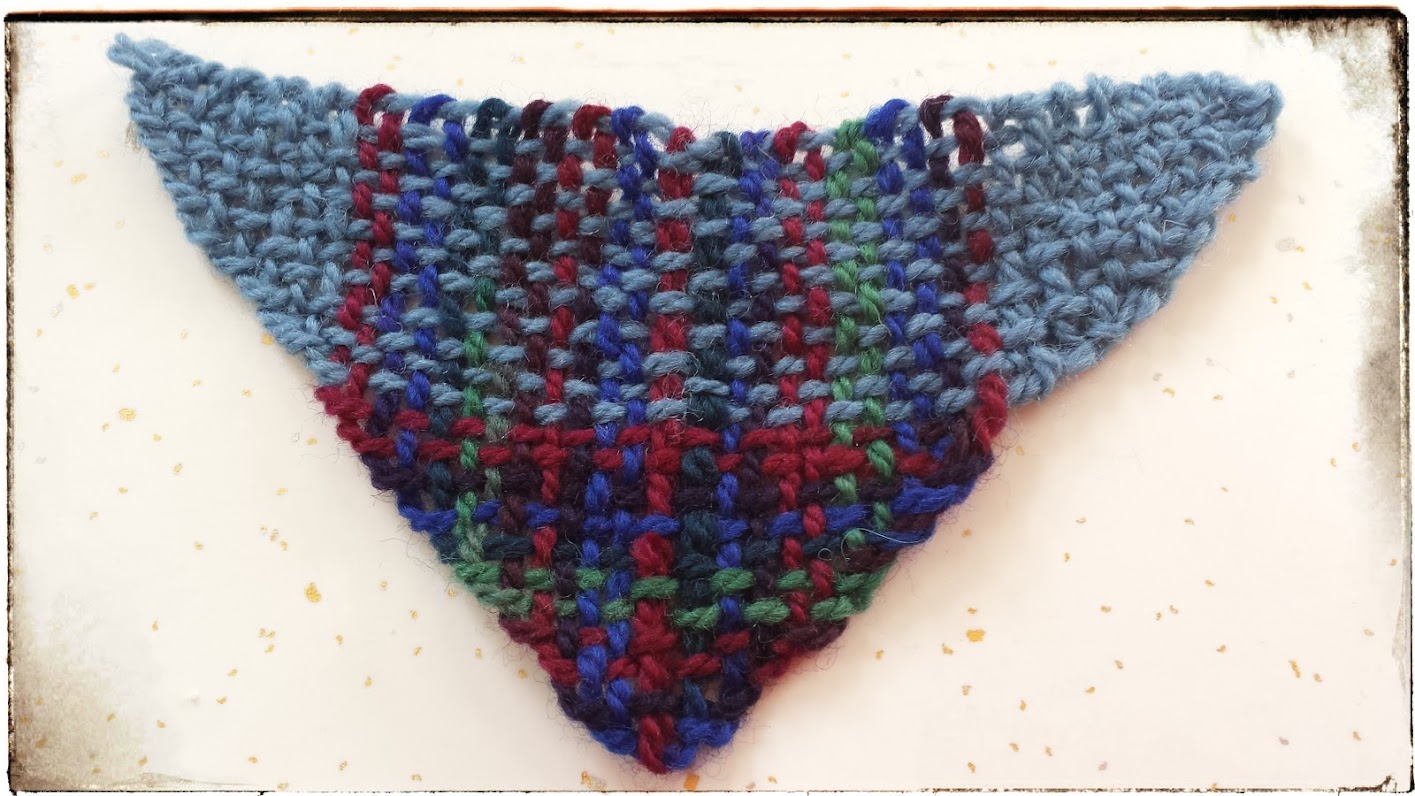
Here is the finished triangular piece:
And the finished square piece.
Fact: My weaving in of ends leaves much to be desired. And despite triple-checking my work before I took it off the loom, the square piece has a glaring error in it. Ain’t that the way. I won’t point it out as I’m sure the weavers out there have already spotted the mistake. For everyone else, it can be a fun search puzzle. :P
Weaving FTW!
Wet Felting Boots
Actually, the class was wet felting boots or mittens. I chose boots, because BOOTS! I enjoyed this class a lot—not only for the fun people, great teacher, and neat new skill, but because wet felting is a very physical craft. You can’t sit and demurely make wet felted boots—you have to put your whole body into it, and I really liked that. If you are not familiar with wet felting, it is the process of causing the microscopic scales on wool fibers to lock on to each other through heat and/or agitation, and is often done in conjunction with a healthy squirt of soap. This interlocking of the fiber’s scales creates a dense woolen fabric called felt. Wet felting is done with wool roving or batts. When heat/agitation is applied to already knitted goods, it is called “fulling”, although the two terms are often used interchangeably because the final fabric is still called felt. My good friend Laura over at Mommayaya makes the coolest felted (but actually fulled) slippers, and it was talking to her and watching her work that got me interested in this whole felting/fulling thing and taught me the difference between the two.
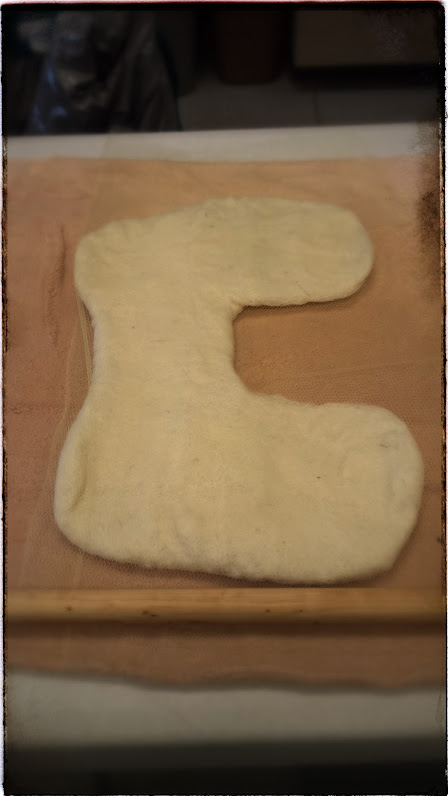
The first step to making our boots was creating the resist or form that would give the shape of our boots. In order to do this, we traced our shoes on a piece of paperboard. After our shoes were traced, we added an inch all the way around. Since felting shrinks the wool, we had to make our resist bigger than the final size we wanted. So we traced our left and right foot on the same piece of paperboard. With me so far? Because this is where things got funny, and I’ll explain why in a minute. The next step was to join the left and right feet with a “leg”. Here you can see the resist–two feet and a central “leg”– cut out and ready for wrapping:
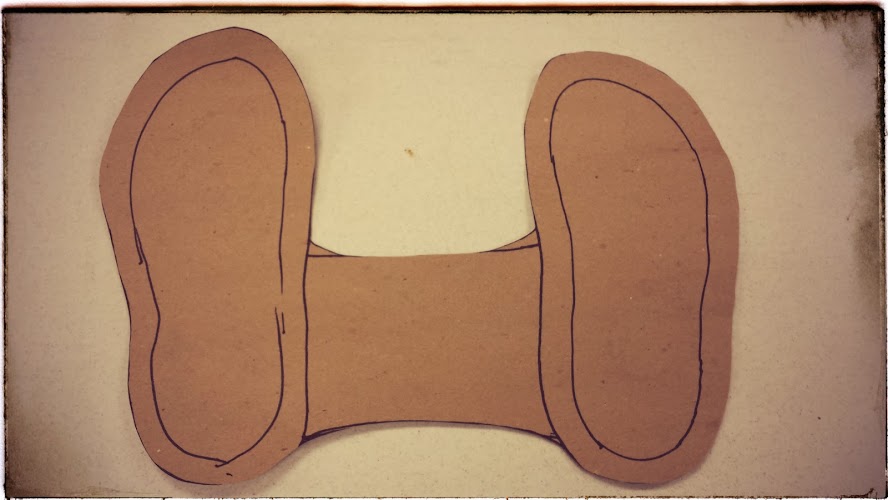
So basically, we would be making both boots at the same time, and the “leg” we drew in the middle would form the ankle part of each boot. “But wait!” I hear you say. The foot is drawn flat on one axis, and the leg on another. Yup. I asked about this, too, because you see, on the day I took this class, I was wearing a pair of crunchy granola Birkenstock foot-shaped shoes. You can see in the photo above that my shoe has a definite left and right toe rather than the generic roundness or pointiness of most shoes. And if you’re wondering what the point of that is, we simply have to rotate the picture:
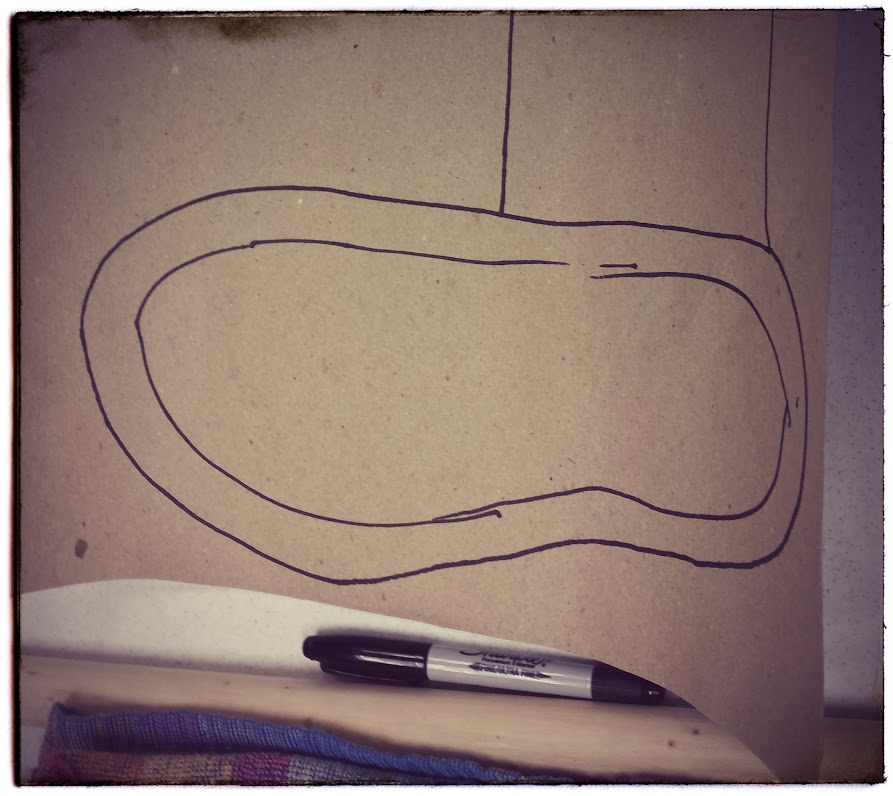
This orientation shows the actual shape that the boot will take when it’s felted. And because of my funny shoe shape, I highly expected a funny boot shape outcome. However, my teacher reassured me that it would be fine. So I went with it. What the heck, I was having fun.
The wool was arranged on the resist in two directions, layer by layer—toe to heel and side to side. We sprayed the layers down with soapy water as we worked and flipped the piece over to cover each side, wrapping the overlapping edges to secure each side firmly. Below I’ve completed two layers on the one side of the resist and have flipped it over, wrapped the overlap, and am ready to begin applying the first layer on that side. The most difficult part of this step was keeping the wool wrapped as tightly around the resist as possible.
After all the layers were done, the piece was ready to felt. We resprayed the whole thing with soapy water, put a layer of tulle around the piece, and rolled the whole thing up around a 1″ dowel.
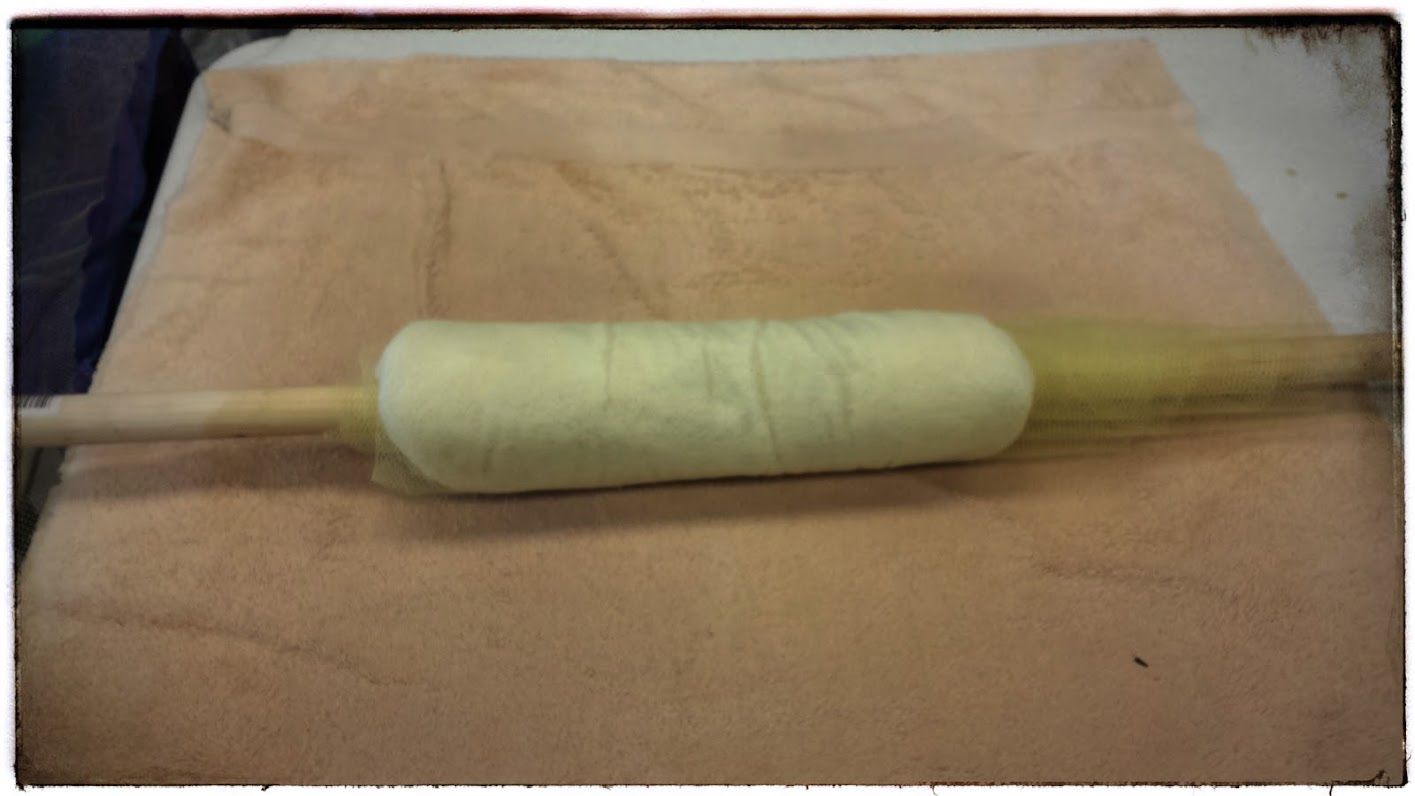
Then the fun began! Rolling and rolling and rolling and rolling and rolling and rolling, turning, and rolling and rolling and rolling and rolling, flipping, and rolling and rolling and rolling. We rolled, flipped, rolled, turned, and rolled for AGES. And then magically…
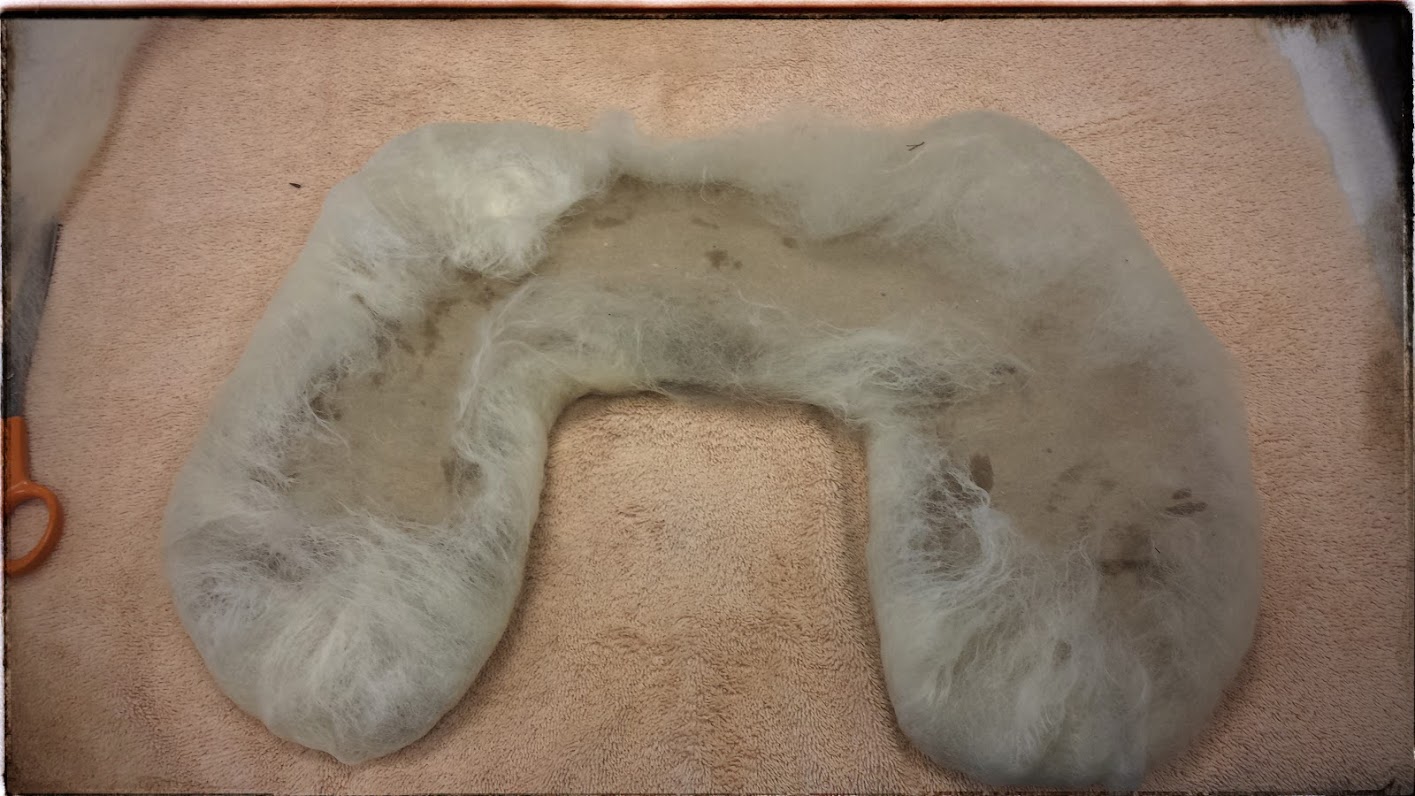
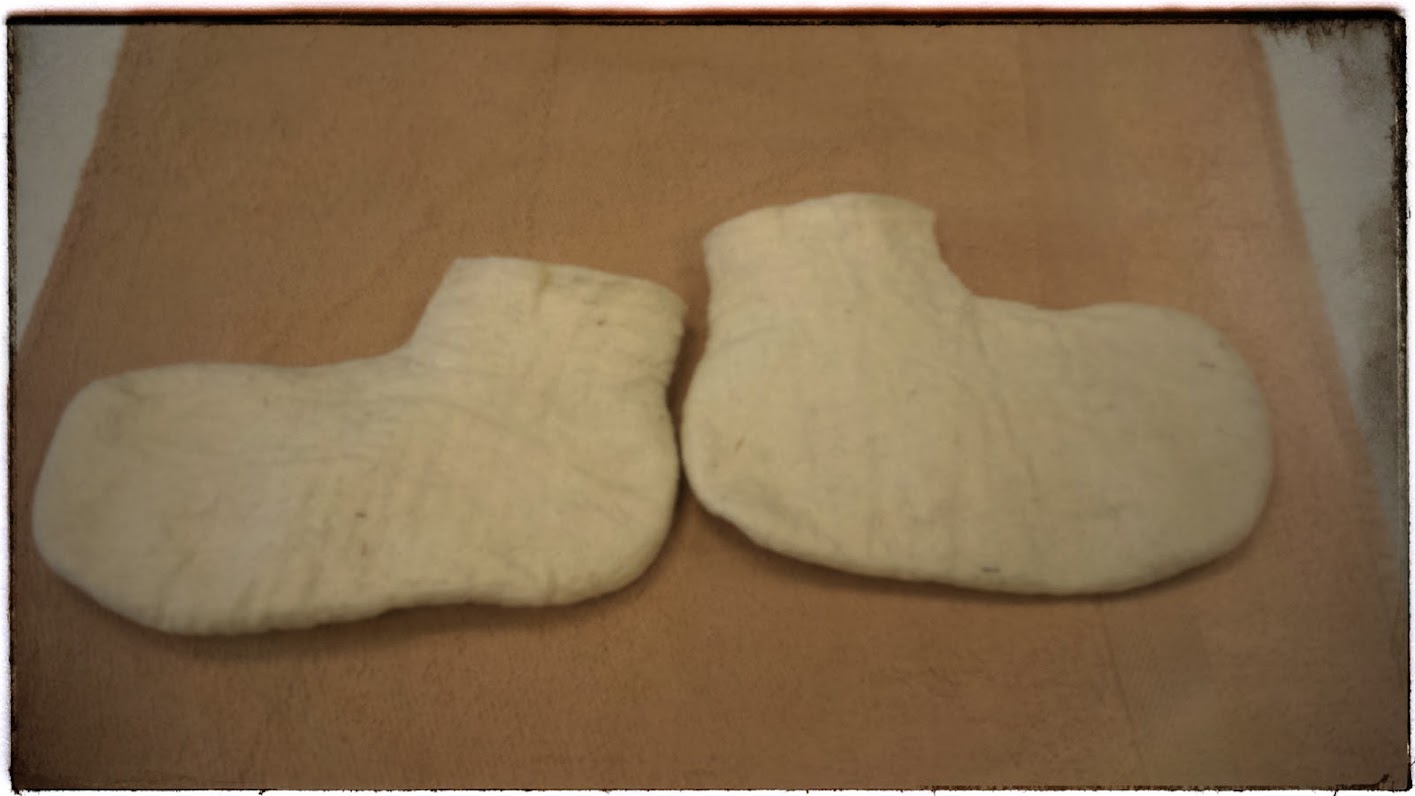
There was felt.
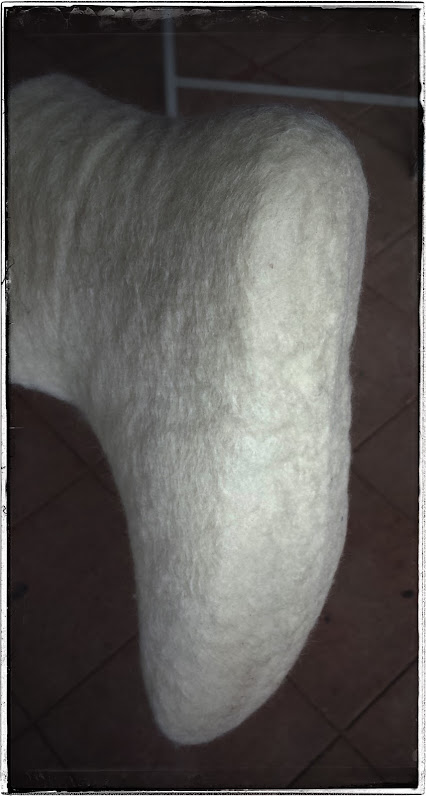
A little more rolling and soapy water for good measure, and then, with a few snips, there were boots.
You can already see that my boots had a little more going on up in the toe region than they should have. After the resist was removed and the ankle seam snipped (I made mine too narrow to put on without a snip), the final step was to put the boots on and finish the felting. The last bit of felting is what does the final shrinking and shaping to the foot, and this is done while wearing them. So, the flat shape becomes a three dimensional shape. And since mine had Birky toe, they looked pretty funny when I put them on. In the picture below, you can see all the extra material gathered into a flap.
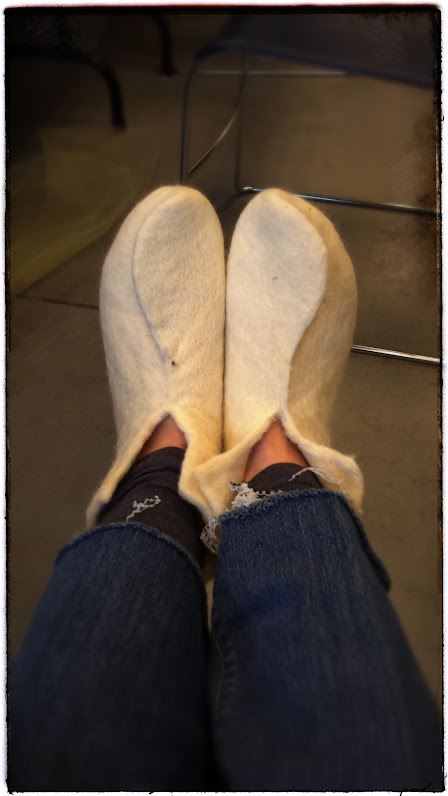
I debated about just cutting it off and seaming up the toe like this, but then while playing around with it, I pulled the flaps over and realized that it was actually a kind of a neat design element. It was a fun and quirky class, and I made a pair of fun and quirky boots. They fit, too.
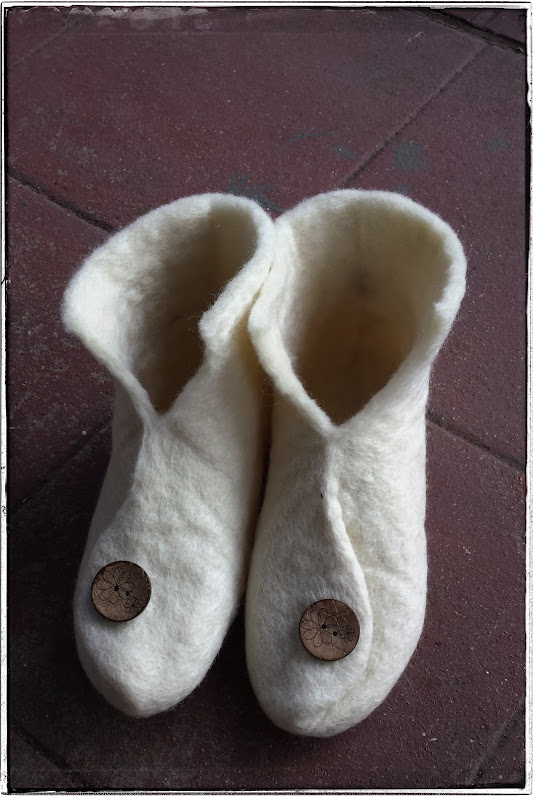
My teacher had a great idea to tack them down with buttons, and so I picked up some cute buttons in the market at the retreat. I haven’t stitched them on yet—been waiting for the felt to dry—but here’s what it will look like:
I’m tossing around the idea of adding some needle-felted designs to the boots. E loaned me her needle-felting needles to play with. I’ve never done that before either. Or I might try my hand at some crewel embroidery. I’ll show you when I finish them up.
So, a great weekend was had with nice people, great teachers, fun classes, and happy accidents. All good things. It was a nice jump start into crafty creativity again after a year of still hands. And, the best part is that I learned that there are more of these little (and not so little) local fiber and craft workshops all year long, many of which only charge nominal registration and class fees. I’m looking forward to more.
Posted in
tink & tinker and tagged
continuous strand weaving,
crafts,
felt,
fiber retreat,
local,
Missouri,
small farmers,
stick weaving,
sustainable,
triangle loom,
weaving sticks,
wet felting,
wool
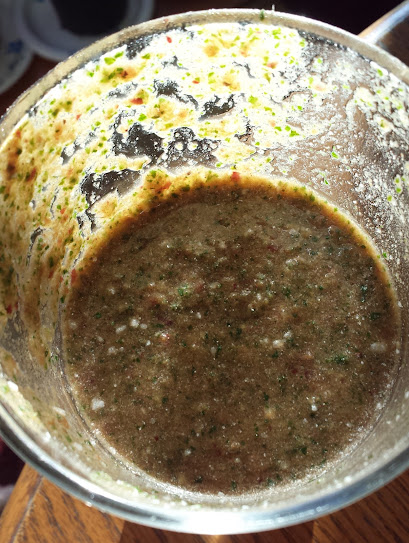
 Aaaaand… still no knitting. But I did get hungry what with all this cleaning and contemplation. So, I made myself a green smoothie. Can I just say that my smoothies, although quite delicious, never ever ever ever ever look like they do in health food magazines or celebrity cookbooks. My smoothies look like this.